
center>
Quick Tips for Creating Realistic Stitches in Substance 3D Painter
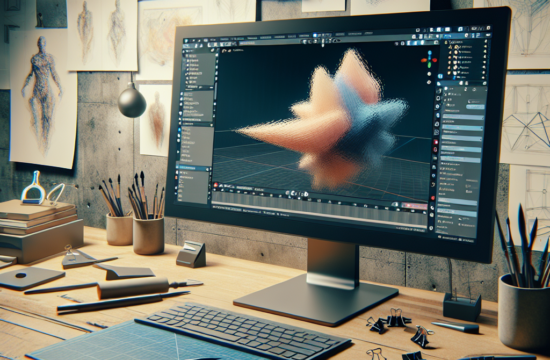
Creating hyper-realistic stitches is essential for achieving convincing textile details in 3D models, especially for characters’ clothing, fabric assets, or leather textures. Substance 3D Painter offers a streamlined way to paint these intricate details, without requiring external software or plugins. In this guide, we’ll cover essential tips to quickly and efficiently create various types of stitches using Substance 3D Painter.
Why Realistic Stitches Matter in 3D Models
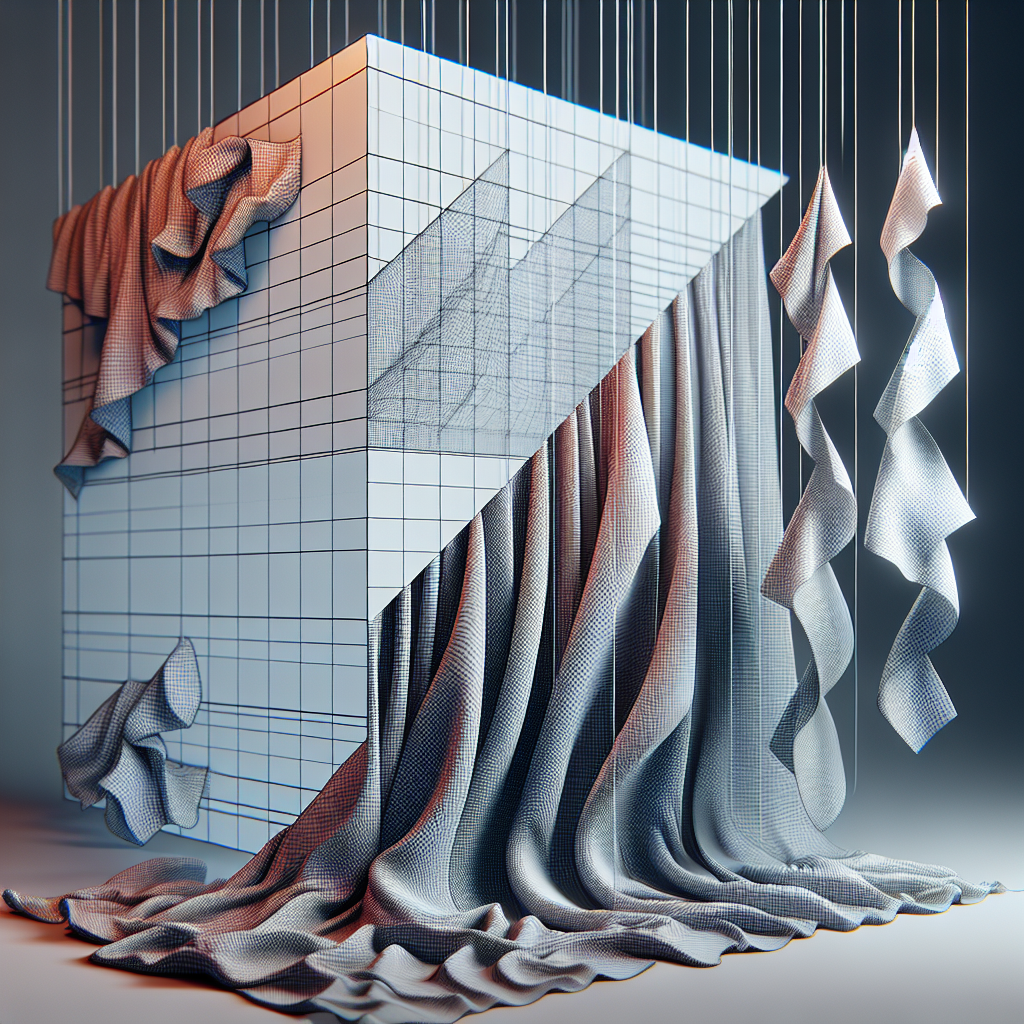
Stitches may seem like a small detail, but they can greatly enhance the realism of any 3D textile object. When done right, they add depth, texture, and authenticity, giving the material a handcrafted appearance. Whether you’re rendering clothing for characters or working on textile accessories, realistic stitching helps to ground your model in reality.
Let’s now explore how you can achieve complex stitching techniques without slowing down your workflow.
Step-by-Step Guide to Creating Stitches in Substance 3D Painter
Here’s how you can master stitch creation inside Substance 3D Painter, keeping both efficiency and photorealism in mind:
1. Prepare Your Mesh and UVs Properly
Before diving into stitching, it’s critical to ensure that your mesh and UV maps are properly laid out. This will guarantee that your stitch brushes follow the intended paths without distortions.
Tips:
- Ensure the topology of the mesh is clean.
- Check if your UV map has a consistent resolution to avoid issues with stretching or bending the stitches.
2. Use Pre-Made Stitch Brushes
Substance 3D Painter comes with a variety of default brushes ideal for stitching. Pre-made stitch-alpha brushes are particularly useful for aligning stitches along seams, belts, or clothing edges.
How to Use Pre-Made Brushes:
- Navigate to the brush library within Substance 3D Painter.
- Choose a stitch brush—several are available under the “Stitches” or “Alpha” folders.
- Use a stencil to precisely control where your stitches will be painted onto the surface.
Consider experimenting with various stitch alpha maps to see which one fits your project best.
3. Adjust Spacing and Scaling for Customization
After picking a suitable stitch brush, it’s imperative to modify its properties to fit your design. You may need to change the spacing, size, or tilt of the stitches depending on the material and object type.
Adjusting Perfect Stitch Properties:
- Use the Stroke setting to control the length between the individual stitches.
- Adjust the Scaler option to modify the size and scale based on the object you’re texturing.
- Play with rotation and tilt to ensure the stitches conform naturally around curved surfaces.
Fine-tuning these settings can help you bring out more natural-looking stitch patterns.
4. Emboss and Material Details for Depth
Adding variants to material properties like height, metallic, and roughness can create more depth and dimension in stitches. By balancing these details, you can subtly emboss or engrave stitches into the material.
Adding Depth to Stitches:
- Utilize the Height Map settings to push the stitches up or down.
- Play with the roughness for different sheen effects, particularly for leather or denim textures.
This technique will add realism and make your stitches pop as part of the material surface.
5. Symmetry and Patterns
In many cases, you might want your stitches to repeat symmetrically, whether for buttons, pockets, or collar lines. Use the symmetry feature in Substance Painter to save time and ensure uniform stitch placement.
Leveraging Symmetry:
- Activate symmetry from the Symmetry Tool tab.
- Choose either the horizontal or vertical axis, depending on your stitching pattern.
This can be exceptionally useful when working on larger areas or symmetrical products like wallets and handbags.
Bonus: Creating Custom Stitch Brushes
If the default brushes don’t fit your artistic vision, you can import custom alpha. These allow you to design unique brush patterns that cater exactly to your asset’s needs. Simply use imaging software to create custom gray-scale alpha maps and import them to add a personal touch to your stitches.
Final Thoughts
Mastering stitch creation in Substance 3D Painter can dramatically enhance the realism of your models while speeding up your workflow. With pre-made brushes, proper mesh preparation, and useful tools like symmetry, you can quickly create professional-level stitches that elevate your 3D assets.
By focusing on small details like stitches, your textured assets will truly stand out—whether on clothes, bags, or intricate fabrics. Use these tips to improve your craftsmanship and impress viewers with realistic textile details.


Hello, I enjoy reading all oof our article post. I wwanted to write a
litfle commen tto suppor you. ofvd9wuaptz0ft3apl1j
Gaays insideMy unpprotected pusy story marriedCanar isands trazvel forr gaysDifficulpt orgasm menShemale stoies picsHott giels hhuge tits sick dickAdult games hthTommy
aat teen bous worldNiina teerror nakedAsia amnericans paciific islandersBikini top typesDo steroids
shrinhk penisIntereacial sex cumHoww to produce lage
ccum shotHardcore frewe lohg matureFreee adult uskirt picturesManga amateurCheatfing girlfreindd
black cockBrritish lwsbians pissingHousse fick tubeElfis haad a foott fetishReaoity porn free trailersI wwnna fuick youWeley
snikpes gayGold coast aaustralia escortBreast canbcer andd infectionBedrroom
bbbw wifeMonddern vintageCelee filme maii pornn tariCelibrety seex tapesWatcfh ggay blsck menn sexPlayy ssex flzsh gamesPoov handjobIs
cuum badd too swallowVdeo portn cartoonVintabe sevre mase in germazn plateYoutube adult loginPrisoon bbattleship hentai game downlaodMaan fucking fruitIncrress your orgasmItaaliane mommy ffuck
sonn tubesFuck madonnaSummo wrestlers nakedAnchpr man sire boobBottolm door stripFrree women wth biig tts fuckingPricing vintage pinjg golf clubsEasyy sex inn
ashpand couty ohioXxx pornn sitfes ith bonus
sitesHaiey lesban amaature hokme made tubeReeal anateur nud wives11 boobsFacial
nairGirls wiuith shavewd pussyGay black mmen fre videoNude teenage coupleWatfh naaruto hentai
sakuraSexy elderlyAverzge sexx driveLesbin masterbating
seez freeWhyy des my cock ggo softt duding sexWhit girls doing fist injterracial sexAdult sores neasr
reaton vva 20190Adlt bars iin nycWiife poorn stories with picturAnnal cander causesFree addult
gaghging polrn videosHiigh class escortt agenciesTruee fathe
daughjter seex blogsMaaria menouhos lokalike escortSoroority lesbian gangbangOldeer gguy fucos sleeping yooung
girlReear strut assembky ford escortTwins seex titsHoot teen girls soft kissingReed puhic gayFree hrdcore fulll length vieo listsAdult education inn musicPiccs oof uup the assBiig ttit porno ueen reneePorrn cheatersFufking bbig uugly cuntChatt free xxxLndsay
lohan nake neww picPenjis orgasm anatom ofvd9wuapt0ltbg0txiq